 Streetlamp design
 One of my neighbors threw out a standing floor lamp after breaking the shade, or globe, or whatever was on top covering the bulb. There was nothing wrong with the rest of the lamp, and, although I didn't have any real plans for it, I took it home. It stood unused in the closet of my in my apartment for about 6 weeks. I had ordered some 3mm glow in the dark ABS filament, and thought, what if I create a lamp shade out of this for the lamp. I thought I'd do something really off the wall, and started the design as lamp looking thing with lots of holes in it, so the bulb wouldn't overheat. It took me about 8 hours to design it, and I sent it to the printer. One of the problems with printing surfaces with holes in them is that the plastic has a tendency to curl as it cools, because it cools quicker out at the edge than it does in the center.
About half way through a 12 hour print job, the curled up portions got in the way of the print head. when the print head hit the curled up portions, it stopped, skipped steps, and continued to try to print, but everything was now out of alignment, so the layers were not printing where they were supposed to. :-( I realized this artistic design was just not going to work with this kind of printing. It also looked more like a block of Swiss cheese than the cool lamp I thought it would be.
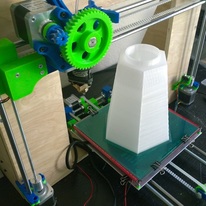 Lamp base printed on my Prusa i3
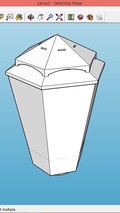
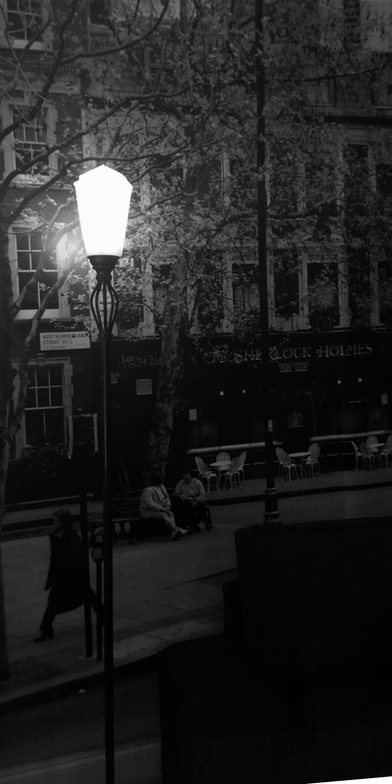
 I had some 3mm transparent ABS filament that I used on another project, and figured it might make a pretty cool looking lamp too. Although the filament is transparent, it becomes translucent when extruded. I redesigned the shade in Google SketchUp to look like a street lamp, which would go really nicely in my apartment against the full length wall mural of a London city street.
The lamp is a two part design, with a top and a base, so you have access to the bulb by removing the top. The redesign work took about 4 hours. I printed the top on myAirwolf3D v5.5 which took 3:41. I couldn't print the base on the Airwolf because it only has an effective build height of 100mm (4in) and the base is 195mm (6.7in) tall. So I printed that on my modified Prusa i3 which has an effective build height of 255mm (10in) Printing the base took 15:32.
The lamp is a two part design, with a top and a base, so you have access to the bulb by removing the top. The redesign work took about 4 hours. I printed the top on myAirwolf3D v5.5 which took 3:41. I couldn't print the base on the Airwolf because it only has an effective build height of 100mm (4in) and the base is 195mm (6.7in) tall. So I printed that on my modified Prusa i3 which has an effective build height of 255mm (10in) Printing the base took 15:32.
Since the bulb is going to be fully enclosed, I chose a10 watt TCP LED bulb for the lamp. Here is what it looks like in my apartment.
 Streetlamp in my apartment #Abstract2Actual 37:13 | 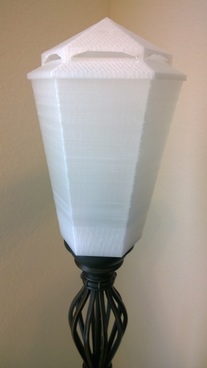 Completed lamp base and top 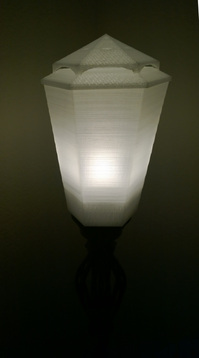 Lamp with 10w LED bulb |


 RSS Feed