 Lovely blue tuna, hot on the platter
 I have a friend who goes by the nickname Tuna. He does really cool work with concrete which you can check out at ecoconcreteconcepts.com. He was really interested in the work that I've been doing with 3D printing and I told him I was going to make him a tuna. Initially I was going to make flat puzzle pieces that assembled into a three dimensional model. But I just couldn't get things to look the way I wanted, and I was running short on time to get this thing done. I went to Thingiverse.com and found a good model called 3D printable blue tuna.
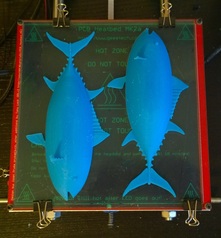
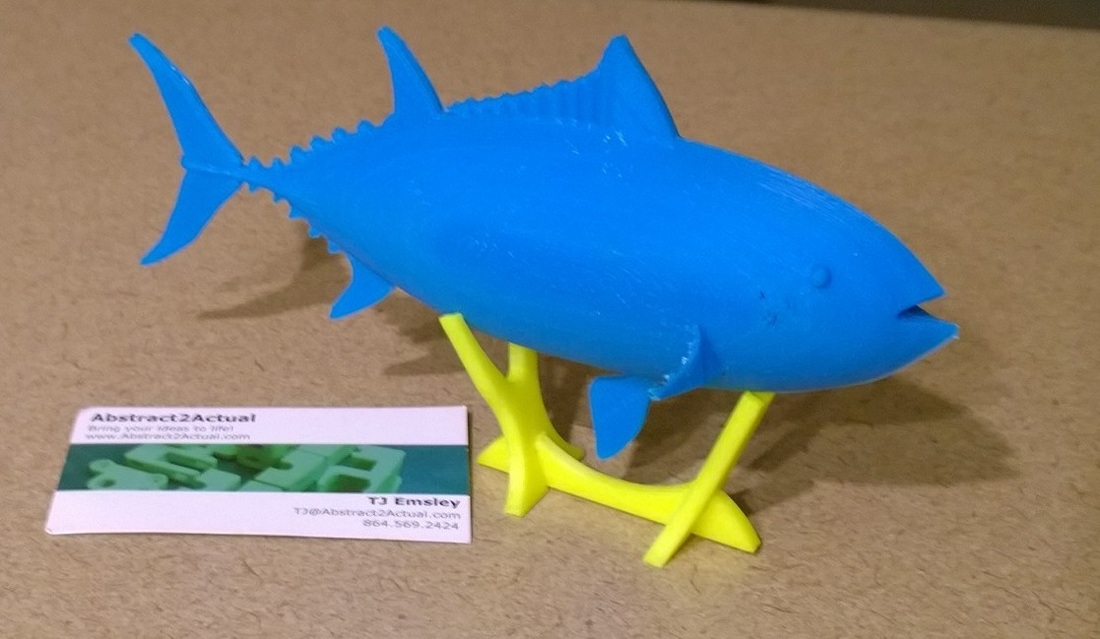
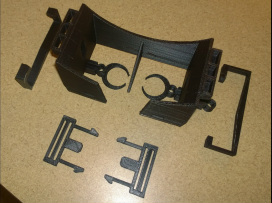
The original file was only half of a fish and it wasn't really optimized for printing. It was also smaller than what I was after; something that you could put on a desk. I cleaned up the model, integrating what were originally discrete components into a single solid watertight model using Google SketchUp. I also learned a new trick to mirror the half fish that I had in order to make a complete fish. Using the "Flip along axis" feature in SketchUp, I was able to make an exact opposite copy of the original. I printed this using 3mm glow in the dark ABS and the results were pretty cool. Tuna really liked his fish. I have about 5 hours of re-design work and 6:32 print time. #Abstract2Actual 11:32
Thanks to ELIJAHXXL for the original design!!! My remix of this original design can be found HERE
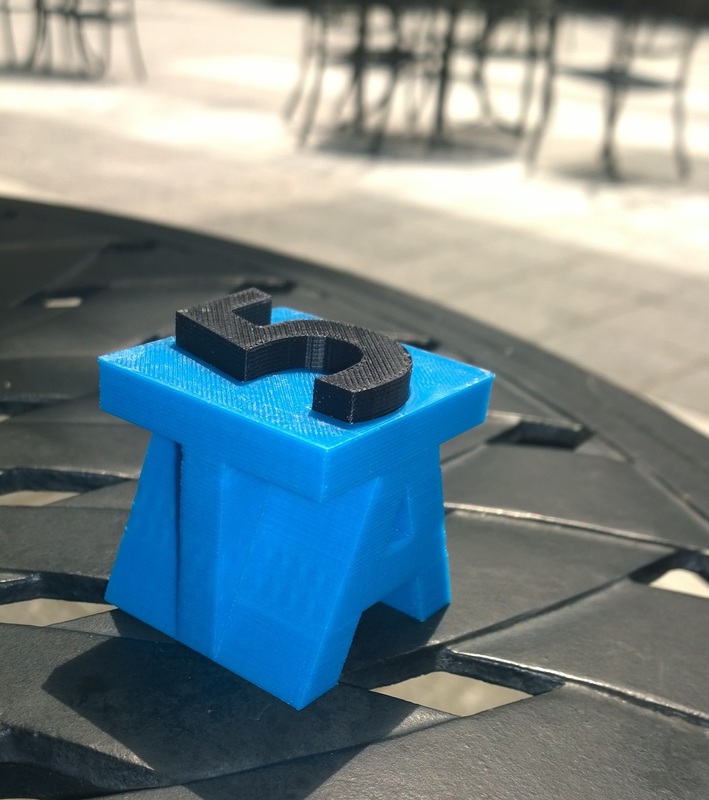
 #Abstract2Actual 11:32 | 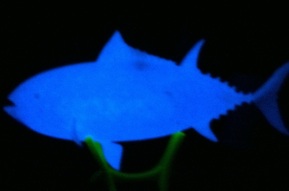 Lovely blue tuna that glows in the dark! |


 RSS Feed