Abstract2actual
  • Home
  • Blog
  • Gallery
  • Buy stuff
  • Contact
  • About

Remix, Give props, Share

8/27/2014

1 Comment

 
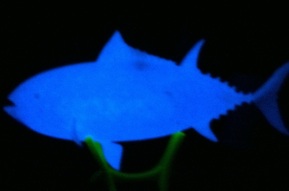
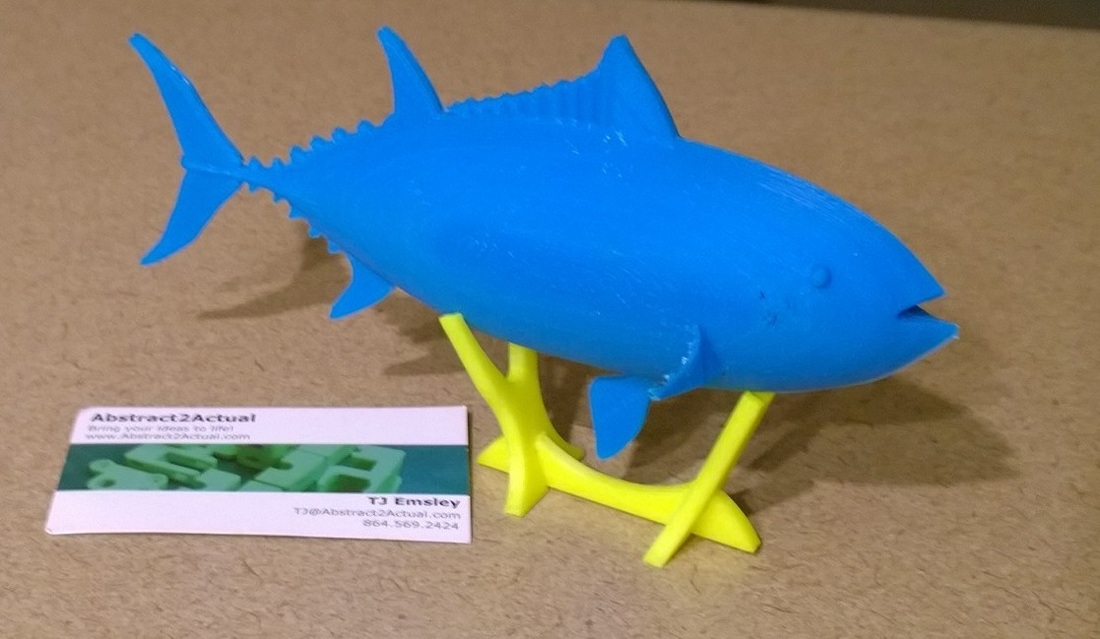
PictureLovely blue tuna, hot on the platter
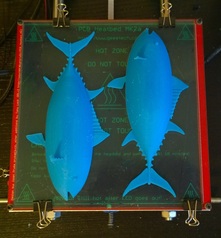
I have a friend who goes by the nickname Tuna.  He does really cool work with concrete which you can check out at ecoconcreteconcepts.com.  He was really interested in the work that I've been doing with 3D printing and I told him I was going to make him a tuna.  Initially I was going to make flat puzzle pieces that assembled into a three dimensional model.  But I just couldn't get things to look the way I wanted, and I was running short on time to get this thing done.  I went to Thingiverse.com and found a good model called 3D printable blue tuna. 

The original file was only half of a fish and it wasn't really optimized for printing.  It was also smaller than what I was after; something that you could put on a desk.  I cleaned up the model, integrating what were originally discrete components into a single solid watertight model using Google SketchUp.  I also learned a new trick to mirror the half fish that I had in order to make a complete fish.  Using the "Flip along axis" feature in SketchUp, I was able to make an exact opposite copy of the original.  I printed this using 3mm glow in the dark ABS and the results were pretty cool.  Tuna really liked his fish.  I have about 5 hours of re-design work and 6:32 print time.  #Abstract2Actual 11:32

Thanks to
ELIJAHXXL for the original design!!!  My remix of this original design can be found HERE
Picture
#Abstract2Actual 11:32
Picture
Lovely blue tuna that glows in the dark!
1 Comment

Make a VR Headset

8/15/2014

0 Comments

 
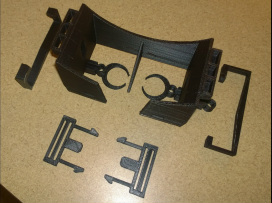
PictureOpenDive VR headseat.
A friend of mine is doing some cool work with Augmented and Virtual Reality  (AR) (VR).  He was going to use Google Cardboard to make a VR headset for demonstration purposes, but when he found out I had 3D printing capability, he asked me for help.  He sent me a bunch of design files from Thingiverse.com, and asked if I could make the OpenDive model.

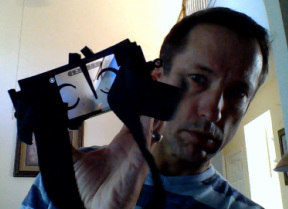
OpenDive is a really nice looking model created by Durovis.  It sliced nicely, and printed in about 8:30 on my Prusa i3.  I couldn't wait for lenses from Amazon, so I found an old junk pair of binoculars, and scavenged a pretty good pair of lenses from them that fit in the goggles.  Focal length is off a bit, but at least it gave me a rough idea of how these things are going to work.

Next step:  download the Dive City Roller Coaster
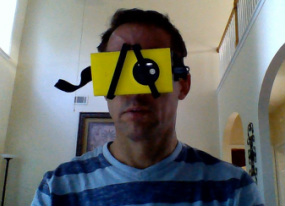
app on an iPhone and take a ride.  These things are COOL!  I also downloaded Protect The Planet from the windows app store and played this VR asteroids game onmy Nokia Lumia 1020.  All you do is move your head to shoot down asteroids.  Here, the focal length of the lenses is a problem, because you can't see the whole screen.  But still, it was really fun to be able to move my head and look around in space, and shoot asteroids.

I'm really looking forward to seeing what we can do with these things.


Picture
Picture
OpenDive VR Headset.  #Abstract2Actual 8:45
0 Comments

Sharing ideas

7/27/2014

0 Comments

 
Today I posted some of my designs on Thingiverse.com.  I've downloaded and printed lots of cool designs from the site and thought I'd share some of my own work.

I posted my streetlamp files HERE
I posted my Mexican Bulldog Collars HERE


0 Comments

build a prosthetic hand part 2

7/19/2014

0 Comments

 
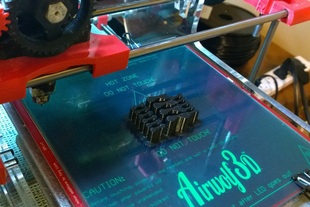
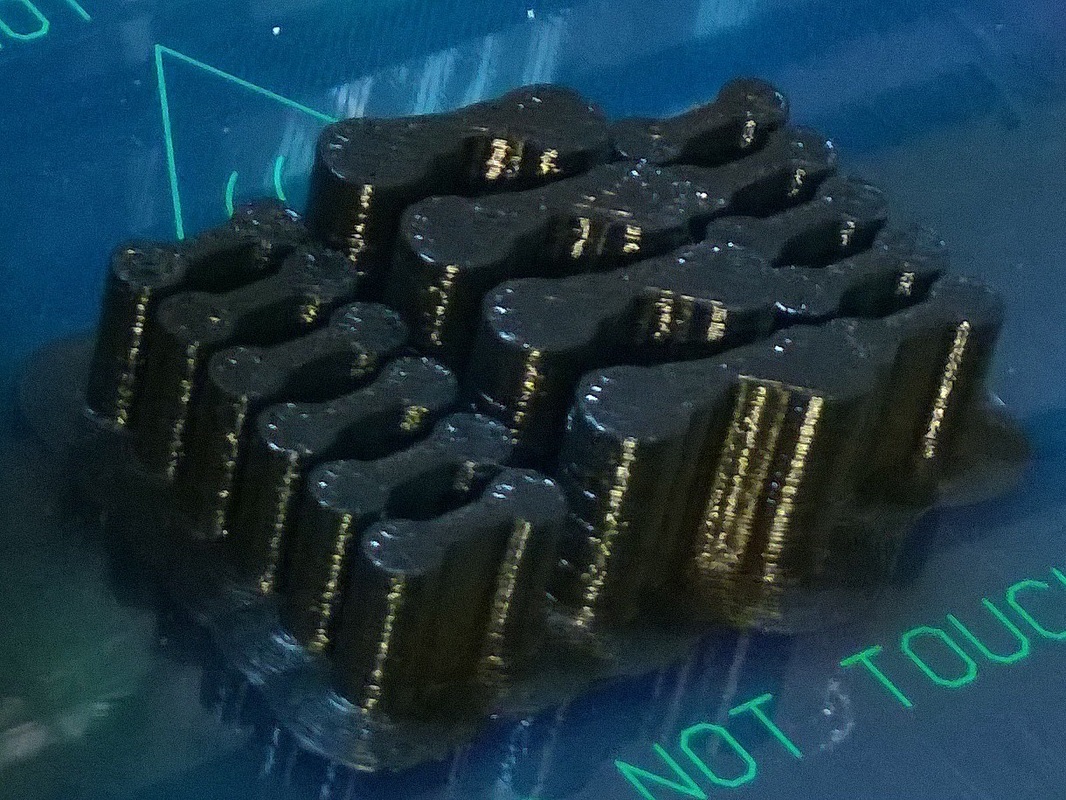
Today I printed the finger joint hinges using my Airwolf3d v5.5 printer.  I printed them out of FormFutura Flex EcoPLA.  Slicing and printer prep took 10 minutes, the print job itself took 2:22 using a rather slow 30mm/sec print speed.  I printed all 15 pieces in a single print job.  Since they're small pieces, I printed them with a 5mm brim, to help keep them stuck to the print bed.  This worked out really well, and I think these pieces printed a lot cleaner than anything else I've printed with the flexible PLA.  The only other notable configuration change with the flexible PLA is a 4mm retract, which is twice what I use with rigid ABS.  The flex seems to ooze a bit more than rigid plastic.  The extra retraction takes care of this which prevents strings from forming between parts and gives nice clean perimeters.  You can find a good description of extruder ooze and how to prevent it, inthis article at www.slic3r.org

Flexy-Hand #Abstract2Actual: 26:52 and counting
Picture
Picture
0 Comments

Build a prosthetic hand part 1

7/17/2014

1 Comment

 
Picture
I've decided to 3d print a prosthetic hand for a networking event next month. I figured this would be a really cool way to showcase the complexity of what you can do with a 3d printer.  I'll keep track of the time I spend on this, which I imagine is going to be a lot.

I'm starting with an open source design Flexy-Hand 2, designed by Steve Wood at Gyrobot Ltd.  According to an article on 3Dprint.com, Jeff spent about 20 hours designing the hand.  I spent about 2 hours this evening studying the design and figuring out the best way to print it.  The files, which are available at Thingiverse.com are already laid out for printing, but there are some overhangs that are going to be a problem with my printer.  I added support material, but it ends up being too much support along the sides of some of the phalanges where it really isn't necessary, and will be a beast to get off.  So I'm manually tweaking the finger plate a little to include support for those overhangs.  Someone probably knows an easier way to configure the support material, and there may be a better slicer program out there for this sort of thing.  If you know of anything, let me know.  Until I learn a better way, I'll just add some little blocks to support the overhangs.

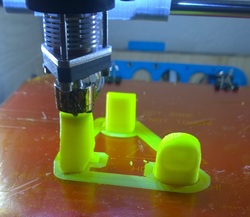
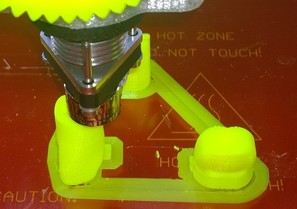
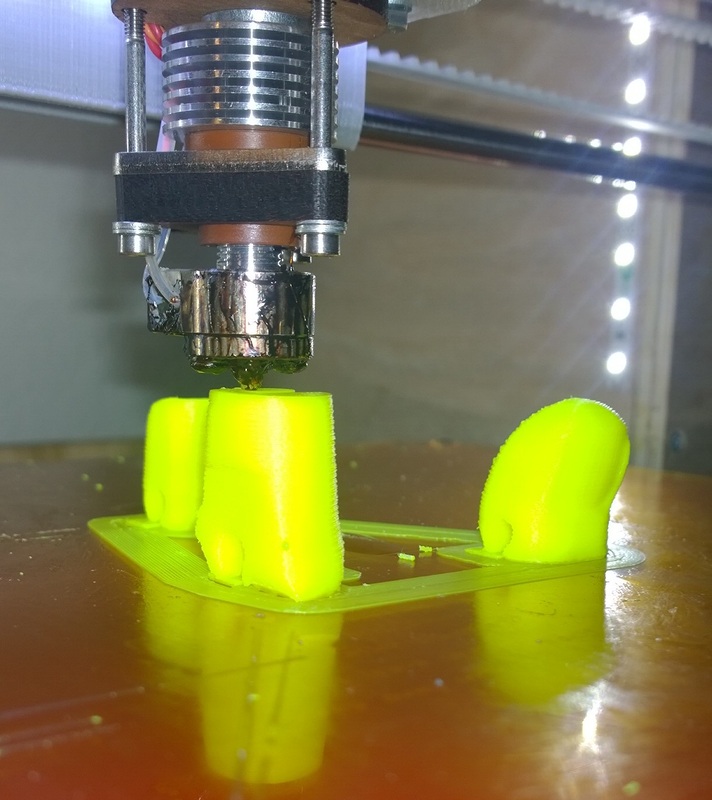
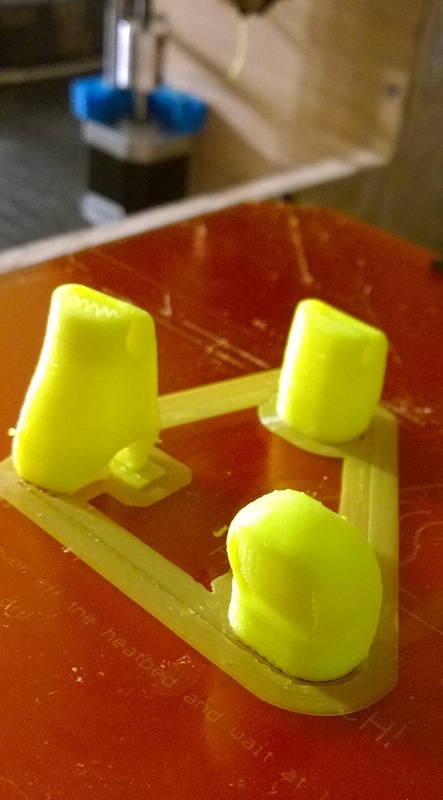
I printed out these three pieces in 3mm yellow ABS to see how my support elements worked.  They are too thick and poorly placed, so I'll try again tomorrow. They do look pretty cool though.  Ultimately I'm going to print most of the hand out out of 3mm Taulman Bridge nylon.  This is a newly formulated nylon that resists curling much better than earlier 3d nylon blends.  I'm thinking I'll use flexible PLA  which I got from 3Dsupplyworld.com, for the joint material, but I'm not completely set on that yet.  Nylon is pretty flexible and I may be able to tweak the filament, density, and wall thicknesses enough to use nylon throughout.

Flexy-Hand #Abstract2Actual: 24:20 and counting (including Jeff's design time)


Picture
Picture
Picture
1 Comment

Build something functional

5/2/2014

0 Comments

 
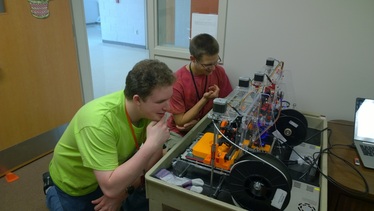
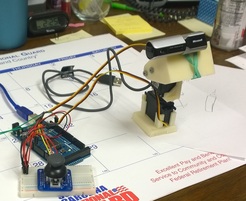
A couple of the senior engineering students at Mauldin High School are on the robotics team.  Josh and Stefan (below left) have been really involved with the printer build there because they saw a lot of potential use for the printer in their robotics program.  Using an Afinia 3d printer, they built the two axis  servo mount (below right) using a design file downloaded from Thingiverse.com.  they hooked the servos to an Arduino , added a joystick controller and a web cam.  Now they can remotely operate the webcam to look in any direction.
Picture
Josh and Stefan: dueling printers
Picture
Servo mount
0 Comments

Build an open source Prusa i3

3/17/2014

0 Comments

 
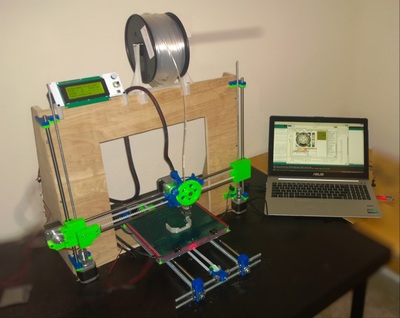
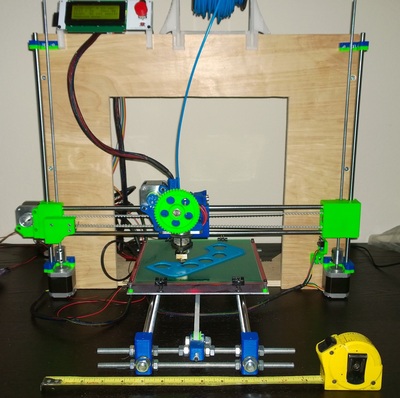
Since I split my time between Charlotte and Greenville, I decided I should have a printer in both locations.  That way I could work on my patent development any time I wanted to.  The experience building the Airwolf3d v5.5 with the school showed that I could definitely build a 3d printer.  Rather than dropping another $1200 on a  factory built machine, I decided to build my next machine completely from scratch.  I picked the Prusa i3 design from www.reprap.org.
I'm writing this blog retroactively, so you'll be spared the minutia of the actual build.  After looking at the design files I made a few changes.  I scaled it up to allow me to install a 10" print bed and I raised the print height to 12".  It took a while to find the right printed parts, and once I did, I found that there were lots of little things that I didn't like.  I redesigned several of the parts, most notably, adding limit switch mounts for all 3 axis.  I also designed and printed a mounting system for the electronics.
I bought the geeetech electronics kit and bearings on Amazon, smooth and threaded rods from Fastenal, nuts, washers, and screws from Grainger. The  kit from Amazon was only OK.  The things I didn't like were that the heat sinks for the motor driver boards were not attached.  I wound up frying about $110 worth of parts when one of the heat sinks slid off the driver board and shorted out. It didn't have a thermistor for the heabed.  The limit switches were some kind of hybrid that I never figured out how to configure. It had an extra SD card reader which was unusable and unnecessary since the LCD controller had one built in.
I don't know if the linear bearings were bad, or if the smooth rods were bad.  Although they work, they don't move as smoothly as the ones on my Airwolf3d.  The rods are scored, and the bearings tend to spin as they move down the shaft.
I had a beast of time figuring out the cooling fan configuration.  Initially I got them to turn on, but the X and Y drive motors started skipping.  It turned out that I had the fan pins were not interchangeable.  You MUST use pin 6 for the controller fan, and pin 11 for the extruder fan.  If they are switched, they work, but it causes the machine to stutter.
I also had to fish around to get the LCD controller to work, but it was simply a matter of un-commenting out the line for the appropriate controller.

My Prusa i3 #Abstract2Actual 10 weeks
My Prusa i3 building parts
Picture
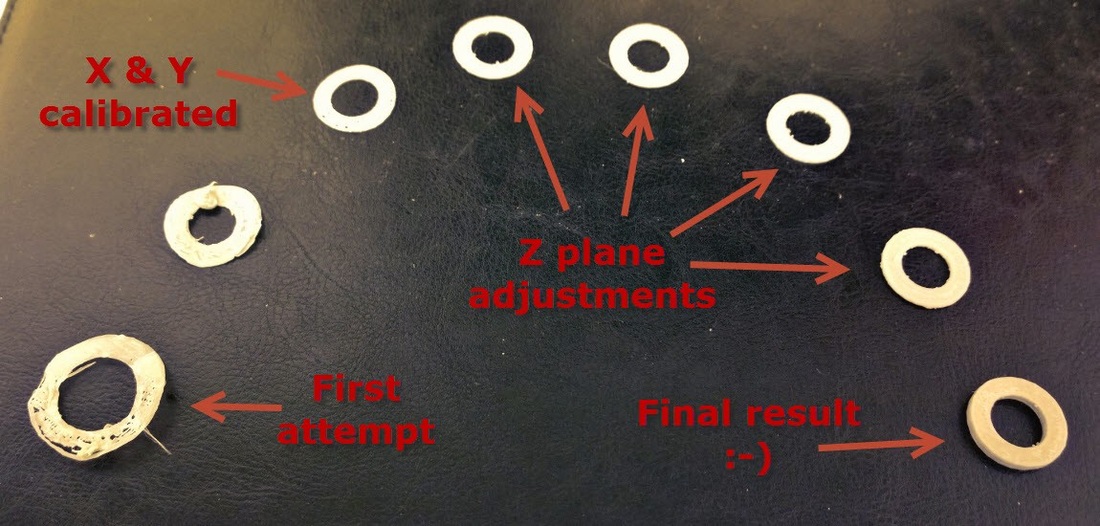
The initial calibration prints from my Prusa i3
0 Comments

Open Source: a great model for giving back

11/25/2013

0 Comments

 
PictureHigh School built #Abstract2Actual in 8 weeks
My Airwolf3d v5.5 is based on the open source Prusa-Mendel design.  Much of today's 3d printing is founded on the concept of a "free" self replicating rapid prototyping machine, a.k.a. reprap.  Not only is the software used  to run the machine freely available to the public, in many cases, the hardware designs are too.
Free, in this context, doesn't mean it doesn't cost anything.  It just means that anyone is freely licensed to use, copy, study, and change the software in any way, so long as they comply with the license terms.  I donated to Slic3r and Pronterface, two of the opensource projects that I regularly use.  I was also compelled to find a way to give something back to the community since I was getting so much from the people who make free 3d printing possible.
I decided to take my Airwolf3d v5.5 and use it to help the local high school engineering students build a 3d printer of their own.  I knew that they had an engineering program and that they used 3d modeling software as a part of their curriculum.  They were able to design lots of things, but were limited to building puzzle cubes with wooden blocks.  It was the only affordable build option they had.
I purchased an Airwolf3d v5.5 kit for the school, We used my printer to print out the structural components, gears, mounts, etc, in school colors.  We also re-designed a custom electronics case with the school name on it.  They named their machine JOOS.

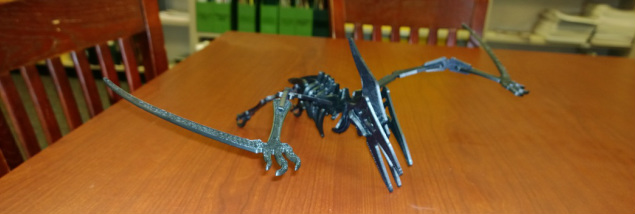
In the middle of printing parts for the 3D printer, the students wanted to know what other kind of things they could make with this machine.  We took a detour to thingiverse.com and the students picked out this model to build. Thingiverse is a great website where you can share and download 3D designs.

Picture
Students wanted to print something useful. So we downloaded this pteradon from thingiverse.com
0 Comments
    View my profile on LinkedIn

    TJ Emsley

    Lifetime tinkerer.

    Archives

    October 2022
    January 2021
    November 2020
    October 2020
    September 2020
    February 2018
    January 2018
    January 2017
    October 2016
    August 2016
    July 2016
    June 2016
    May 2015
    April 2015
    March 2015
    February 2015
    December 2014
    October 2014
    August 2014
    July 2014
    May 2014
    April 2014
    March 2014
    November 2013
    October 2013

    Categories

    All
    3d Design
    3d Printing
    Open Source

    RSS Feed


Proudly powered by Weebly