Day 7: Ball in a cage
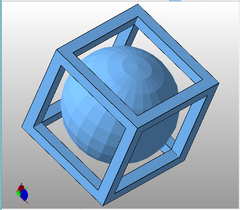
 netfabb rendering of a ball in a cage
 A friend suggested I print something that can only be mechanically produced on a 3d printer for my last day of the challenge. I was thinking of some rather complex things, like an airplane in a hangar, but I had to go with something simpler because I am running short on time. You see, I failed to take into account that I was going to be driving 7 hours after work yesterday. Considering the late start, I picked a ball in a cage for today's project.
Designing this in Google SketchUp wasn't too difficult, although I did have to do a little research to figure out how to create a sphere. Once I got that down, building the cage around it was pretty simple, just a bunch of straight lines and erasing a few planes that created themselves. I had to add a frangible 3mm X .2mm thick circle at the bottom of the sphere to hold it to the print bed during printing, but being so thin, it will easily break away after printing is complete.
Designing this in Google SketchUp wasn't too difficult, although I did have to do a little research to figure out how to create a sphere. Once I got that down, building the cage around it was pretty simple, just a bunch of straight lines and erasing a few planes that created themselves. I had to add a frangible 3mm X .2mm thick circle at the bottom of the sphere to hold it to the print bed during printing, but being so thin, it will easily break away after printing is complete.
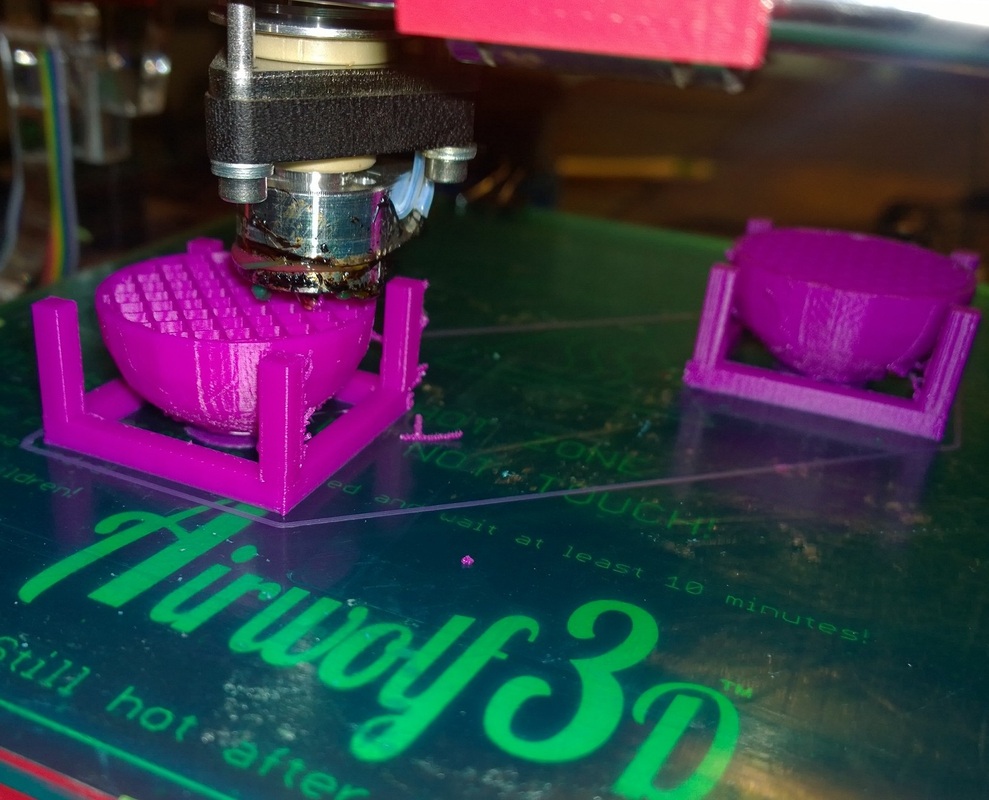
| | I originally designed this to be a 2.5cm (1 in.) sphere within a 2.5 cm square cage, but on the first print attempt, with my Airwolf 3D v5.5 printer, I saw that this was so small that the layers weren't cooling fast enough for the subsequent layer to form correctly. In order to resolve this, I scaled it up 150% and added a second one to the print job. This way, the layer on the first object has time to solidify as the layer on the second object is being printed. |
The only drawback is that it will take almost 4 hours to print, which will exceed the time limit I set for myself on the 7 day challenge. Since I don't have a paycheck riding on this, I can live being a little late. ; )
2/12/2015 7:30pm
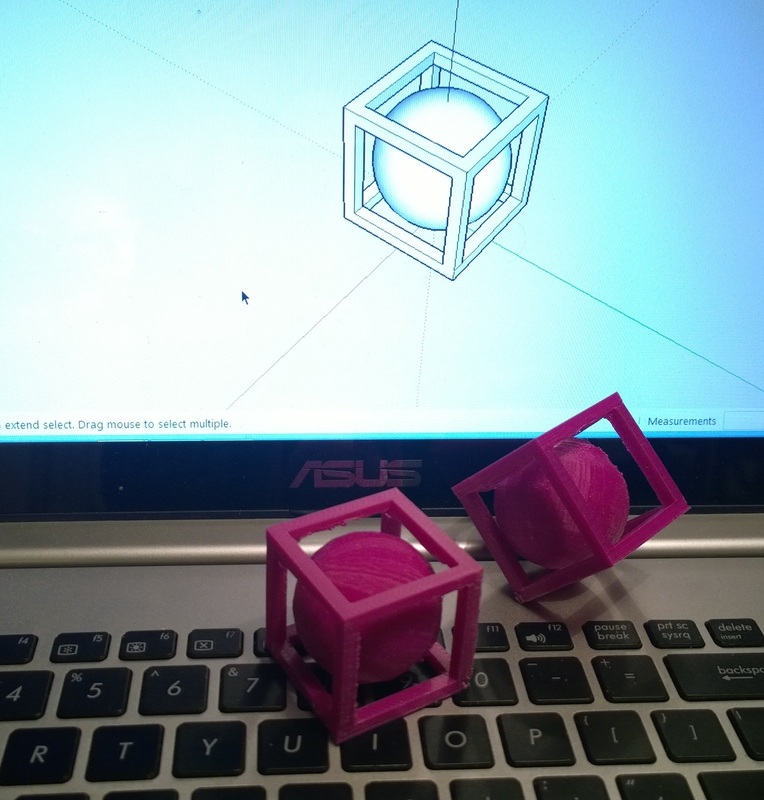
The print job completed at 7:15. I had to do a little cleanup with a small file to remove strands from the overhangs and to remove the support disc off of the bottom of the ball. They turned out really well. I'll be making some adjustments to the print profile to get them to print a little cleaner in the future.


 RSS Feed