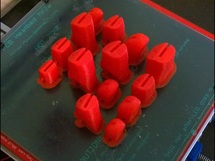
| I've been tinkering with a few pieces of the finger plate trying to manually add support for the small overhangs since the system generated support is overkill. I finally got that worked out on a few pieces and printed them in 3mm yellow ABS. My hope was that once I got the support figured out, I'd print these in 3mm Taulman Bridge Filament. Following recommendations I scraped up on the web, I found that this nylon does a really good job sticking to the bed heated to 70 with a thin layer of Elmer's glue spread on it. The brim and first few layers | |
 Modified finger plate (ABS)
 printed well and stuck really nicely to the bed, but once the print job got up between 2 and 3 mm, the hot end would jam. After a few failures like this, I manually retracted the filament and measured the diameter at the tip. It was 3.15mm, which prevents it from moving into the heated part of the nozzle. I reduced the retract length and increased extrusion temperature which allowed for another half mm of print height before jamming. I suspect this has something to do with my retracts, which have to be a little longer than ABS retracts in order to minimize oozing. After many hours of trial and error, I still cannot get the nylon to print reliably on X3REX (my modified Prusa i3). I've decided to print in red ABS until I can figure out the right configuration for the nylon on this printer. Time spent trying to print nylon parts 4:15
I modified the finger plate .stl file, adding the manually defined support elements to all the pieces. Since I already had a spool of 3mm red ABS installed on the Prusa i3, I printed the finger plate there. Print time was 6:08. With a 4mm brim and the new supports, the pieces all turned out really well. I only had to do a little trimming with an X-Acto knife to get the brim and supports cleaned off. Cleaning the brim off of the joint (hinge) material was a little more difficult since the pieces are so small and the flexible PLA sticks together so well. Putting the fingers together was like putting together a puzzle. There is a diagram with the design files, but many of the pieces look so similar that it's hard to tell if you've got the right joints with the right fingers.
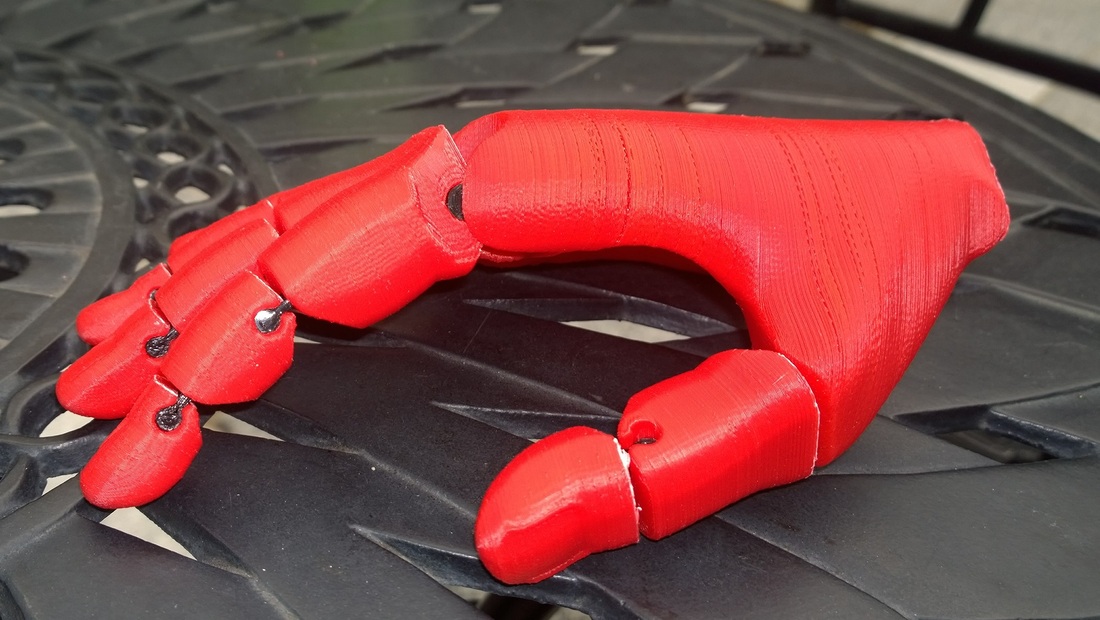
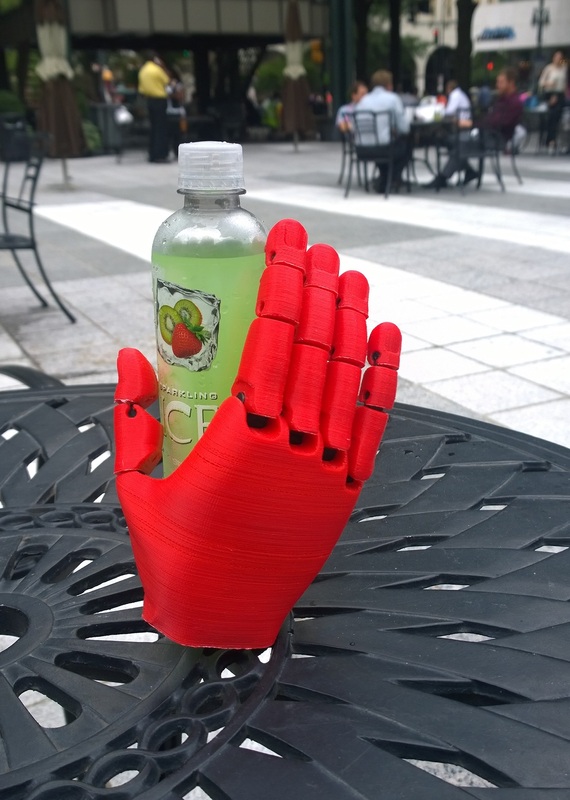
I decided to also print the hand body in red ABS, and I printed it on X3REX since it is a quieter machine than the Prusa i3. This print took 6:24. As I feared, there was some layer seperation, and the holes for the tendons got a bit clogged up. Although I am going to have to reprint it, the piece printed well enough to use for testing fit and finish. Installing the palmar digital joints was tricky. I wound up using a screwdriver to compress the pieces and stuff them down into the palm body. The fingers were pretty easy to press onto the joints from there. The result is this pretty cool looking red hand.
I'm going to have to reprint the palm body in nylon to resolve the layer separation issue. I am pretty sure I'll be able to do that on my Airwolf3d v5.5 since I have a nylon configuration file that works really well on that machine.
Flexy-Hand #Abstract2Actual: 43:29 and counting


 RSS Feed