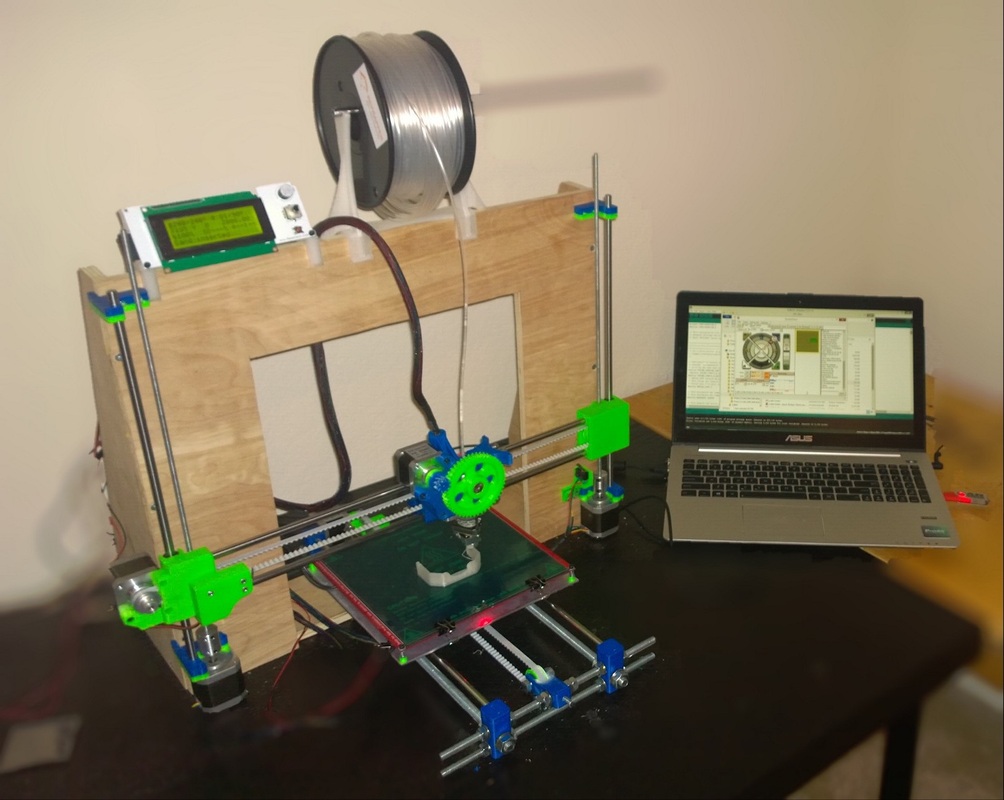
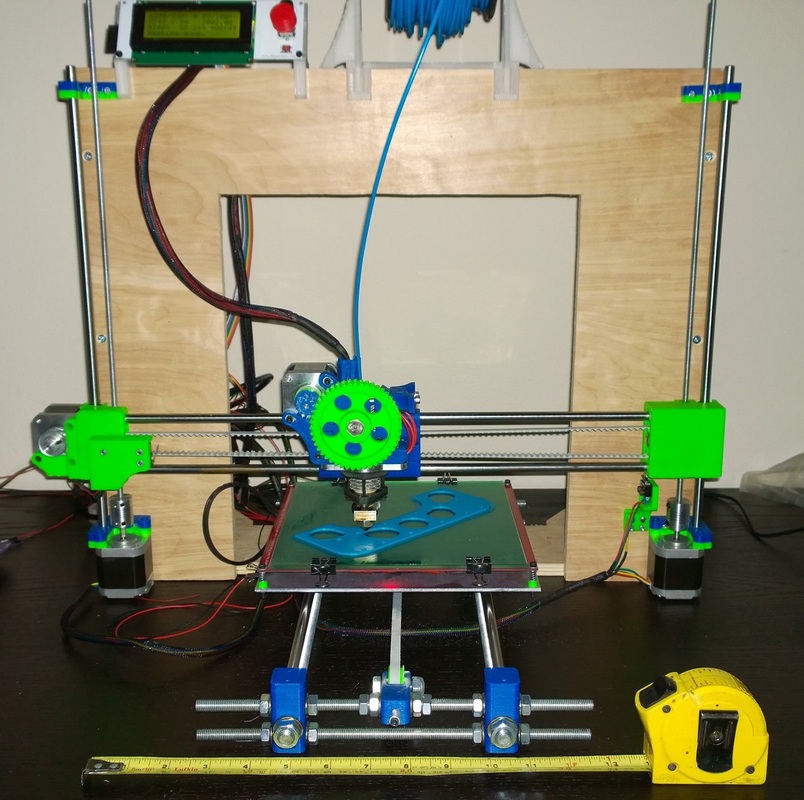
Since I split my time between Charlotte and Greenville, I decided I should have a printer in both locations. That way I could work on my patent development any time I wanted to. The experience building the Airwolf3d v5.5 with the school showed that I could definitely build a 3d printer. Rather than dropping another $1200 on a factory built machine, I decided to build my next machine completely from scratch. I picked the Prusa i3 design from www.reprap.org.
I'm writing this blog retroactively, so you'll be spared the minutia of the actual build. After looking at the design files I made a few changes. I scaled it up to allow me to install a 10" print bed and I raised the print height to 12". It took a while to find the right printed parts, and once I did, I found that there were lots of little things that I didn't like. I redesigned several of the parts, most notably, adding limit switch mounts for all 3 axis. I also designed and printed a mounting system for the electronics.
I bought the geeetech electronics kit and bearings on Amazon, smooth and threaded rods from Fastenal, nuts, washers, and screws from Grainger. The kit from Amazon was only OK. The things I didn't like were that the heat sinks for the motor driver boards were not attached. I wound up frying about $110 worth of parts when one of the heat sinks slid off the driver board and shorted out. It didn't have a thermistor for the heabed. The limit switches were some kind of hybrid that I never figured out how to configure. It had an extra SD card reader which was unusable and unnecessary since the LCD controller had one built in.
I don't know if the linear bearings were bad, or if the smooth rods were bad. Although they work, they don't move as smoothly as the ones on my Airwolf3d. The rods are scored, and the bearings tend to spin as they move down the shaft.
I had a beast of time figuring out the cooling fan configuration. Initially I got them to turn on, but the X and Y drive motors started skipping. It turned out that I had the fan pins were not interchangeable. You MUST use pin 6 for the controller fan, and pin 11 for the extruder fan. If they are switched, they work, but it causes the machine to stutter.
I also had to fish around to get the LCD controller to work, but it was simply a matter of un-commenting out the line for the appropriate controller.
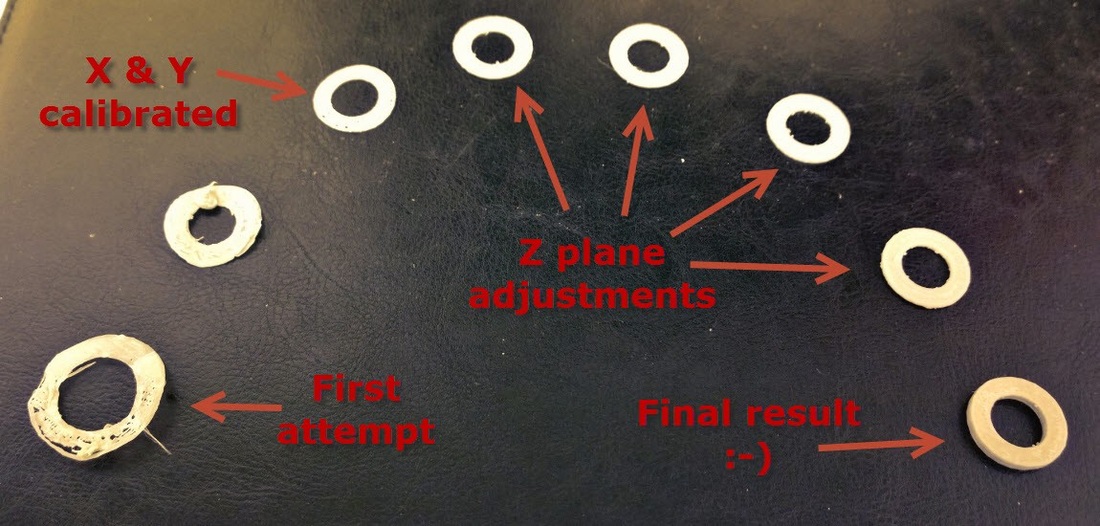
The initial calibration prints from my Prusa i3

 RSS Feed